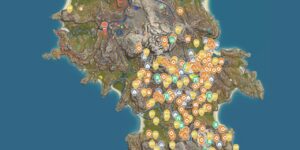
Sekiro Shadows Die Twice Map
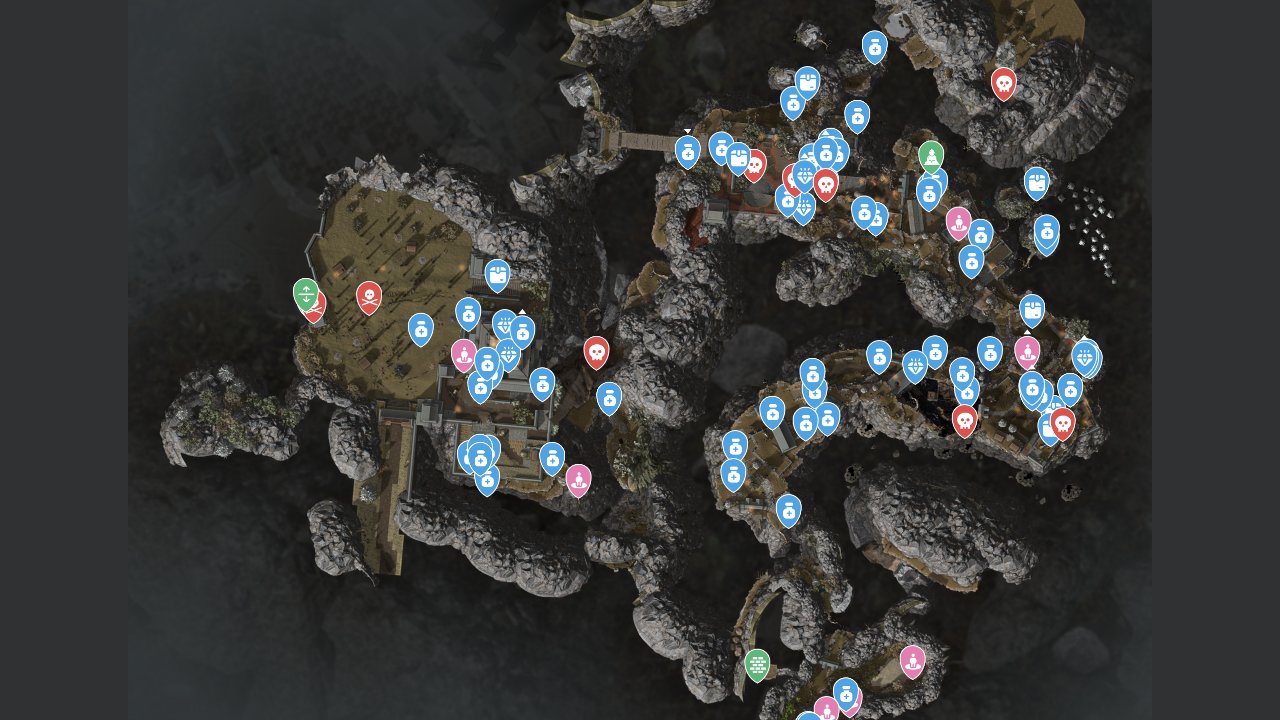
Sekiro Shadows Die Twice Map on GameMappers.com gives players a fully interactive overhead view of the game’s interconnected world, plotting every critical location, enemy, collectible, NPC, and secret across Ashina and beyond. Sekiro’s world is deliberately labyrinthine, built around vertical traversal, hidden passages, and branching routes that reward thorough exploration – but punish players who miss key items or story triggers. This map cuts through that complexity and gives you a structured way to navigate every region.
Unlike most open-world games, Sekiro Shadows Die Twice offers no in-game map of its own. Players rely entirely on memory and spatial reasoning to move between idol checkpoints, boss arenas, and merchant locations. The interactive Sekiro Shadows Die Twice Map solves that problem directly, providing a reliable reference point whether you’re chasing 100% completion, hunting Prayer Beads, or tracking down a specific NPC to advance a questline.
Every marker category on this map serves a purpose rooted in actual gameplay decisions. Collectibles, quests, enemies, NPCs, locations, and secrets are all represented, making this an essential companion for first-time players trying to survive and veterans pushing for a clean completion run.

How to Use the Sekiro Shadows Die Twice Map
Locations and Exploration: The Locations category marks idol checkpoints, area transitions, and significant landmarks across the full world. Use this layer to get your bearings within Sekiro’s tightly packed architecture, especially in areas like Senpou Temple, Sunken Valley, and Fountainhead Palace where routes fold back on themselves in unexpected ways.
Enemies and Combat: The Enemies category maps out notable foes, mini-bosses, and combat encounters positioned throughout the world. Knowing where a dangerous enemy waits before you walk into their range lets you choose your approach – stealth deathblow or open combat – rather than getting caught off guard and losing your hard-earned Sen and experience.
Collectibles and Secrets: The Collectibles and Secrets categories are the most valuable layers for completionists. Prayer Beads, Gourd Seeds, Lapis Lazuli, and other permanent upgrade items are scattered across the world in easily missed corners, behind hidden walls, and on the bodies of powerful enemies. Tracking these through the map ensures none slip past you across multiple playthroughs.
Quests and NPCs: The Quests and NPCs categories work in tandem. Several of Sekiro’s storylines – including those tied to characters like Emma, Sculptor, and the various wandering merchants – require speaking to specific people in a specific order or at specific points in the story. The map keeps those characters pinned so you never lose track of who is where or who you still need to visit.
What the Sekiro Shadows Die Twice Map Can Do
Plan Efficient Routes Through Ashina
Sekiro’s world loops back on itself constantly, and new paths open as the story progresses. Using the map to understand which areas connect to which lets you plan the most efficient route between objectives, reducing unnecessary backtracking. When you know exactly where a sculptor’s idol sits relative to an upcoming boss fight or collectible cluster, you save time and avoid unnecessary deaths crossing dangerous territory twice.
Track Prayer Beads and Gourd Seeds for Permanent Upgrades
Prayer Beads and Gourd Seeds are the two most impactful permanent upgrade resources in the game. Four Prayer Beads combine into a Necklace that raises your Vitality and Posture, while Gourd Seeds increase the number of uses on your Healing Gourd. Both are limited in quantity and tied to specific enemies, chests, and locations. The Collectibles layer on the map lets you check off each one as you acquire it so you never miss a single upgrade across your run.
Locate NPCs Before Their Questlines Expire
Several NPC questlines in Sekiro are time-sensitive. Characters move, disappear, or die based on story progression, and missing a conversation window can lock you out of certain endings or rewards. The NPCs category pins each character’s location so you can find them before a major boss fight or story trigger shifts the world state and moves them elsewhere.
Identify Enemy Placements to Reduce Surprise Deaths
The Enemies layer is particularly valuable in high-density areas like Ashina Castle Interior or Mibu Village, where multiple dangerous foes are stacked closely together. Reviewing enemy positions before pushing into a new section lets you count headshots, identify patrol patterns, and decide whether a stealth approach is viable. In a game where a single missed dodge can end a run, that advance knowledge is genuinely meaningful.
Navigate Secrets and Hidden Areas Completely
Sekiro hides a significant amount of content behind destructible walls, underwater routes, and grapple-accessible ledges that offer no visual hint of their existence. The Secrets category on the map marks these locations explicitly, giving players the confidence to fully clear each region rather than leaving areas half-explored. Whether it’s a hidden cave in Senpou Temple or a tucked-away passage in the Abandoned Dungeon, the map ensures nothing stays undiscovered.
Sekiro Shadows Die Twice Map Overview
A quick reference for the key features of this interactive map.
| Category | Example | Why It Matters |
|---|---|---|
| Collectibles | Prayer Beads, Gourd Seeds, Lapis Lazuli | Permanent upgrades that directly improve survivability – missing one weakens your entire run |
| Secrets | Hidden passages, underwater areas, destructible walls | Sekiro hides valuable items and lore behind unmarked routes that players routinely miss |
| NPCs | Emma, Sculptor, Pot Noble Harunaga | Quest-critical characters who move throughout the world and require precise timing to interact with |
| Enemies | Mini-bosses, Headless, Snake Eyes | Knowing exact enemy placements allows tactical planning and reduces sudden combat deaths |
| Locations | Sculptor’s Idols, area transition points | Ashina has no in-game map – pinned landmarks provide essential spatial orientation |
Frequently Asked Questions
What does the Sekiro Shadows Die Twice map cover?
The Sekiro Shadows Die Twice Map covers the full world across all major regions including Ashina Outskirts, Ashina Castle, Hirata Estate, Senpou Temple, Sunken Valley, Mibu Village, and Fountainhead Palace. Every key category – Collectibles, Quests, Enemies, NPCs, Locations, and Secrets – is marked across the entire map in one unified view.
How does this map help with completion?
The map helps with completion by giving you a visual checklist of every collectible, secret, NPC, and quest location across the world. Because Sekiro has no in-game map, players regularly miss Prayer Beads, Gourd Seeds, and NPC interactions that affect the ending. Tracking each marker category as you progress makes 100% completion achievable without relying on memory alone.
Are collectibles included on the map?
Yes, collectibles are fully included. The Collectibles category covers all permanent upgrade items found throughout the world, including Prayer Beads and Gourd Seeds. These are among the most important items in the game since they directly increase your Vitality, Posture, and healing capacity – and every single one is mapped.
Does this map cover progression systems like NPC questlines?
The map covers both the Quests and NPCs categories, which together support Sekiro’s NPC-driven progression. Several characters relocate across the world as the story advances, and the map keeps their positions tracked so you can complete questlines in the correct order. This is especially important for players chasing specific endings, which depend on precise NPC interactions.
Is the Sekiro Shadows Die Twice map complete?
The Sekiro Shadows Die Twice Map is built to cover all six major marker categories across every region in the game. Collectibles, Quests, Enemies, NPCs, Locations, and Secrets are all represented, giving players a comprehensive reference tool from the opening area through to the final endgame locations.
Credit: Sekiro Shadows Die Twice Map by Wand