All Locations: Resident Evil Requiem Guide
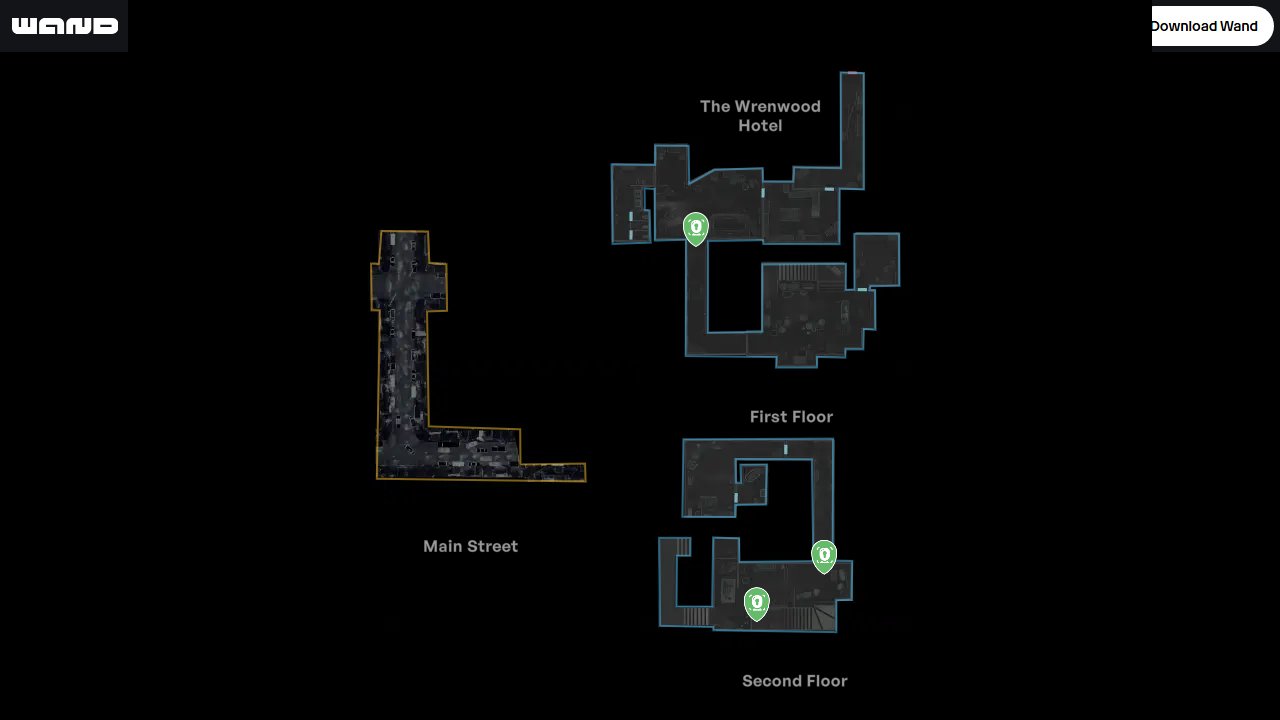
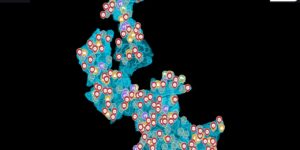
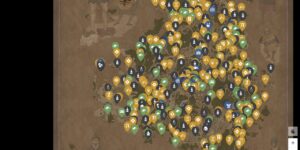
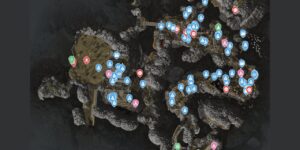
Tracking every Location in Resident Evil Requiem transforms how you navigate this survival horror experience. The Resident Evil Requiem Interactive Map displays all critical locations with precise markers, eliminating guesswork and missed opportunities. This filtered view shows supply caches, save points, puzzle elements, and hidden areas that directly impact your progression. Whether you’re hunting for resources or solving environmental puzzles, having every Location mapped saves time and reduces backtracking through dangerous corridors.

What Location Are Used For
Location markers unlock progression paths, provide essential resources, and reveal interactive elements required for story advancement in Resident Evil Requiem.
- Supply boxes and chests contain ammunition, healing items, and upgrade materials
- Typewriters serve as save points and safe rooms for inventory management
- Locked doors and puzzle elements gate access to new areas
- Power systems and generators restore facility functions
- Hidden spots provide tactical advantages during encounters
Location Types
The map categorizes locations into fourteen distinct marker types, each serving specific gameplay functions throughout your survival experience.
Supply Box
Standardized containers holding ammunition, healing items, and crafting materials. These boxes respawn periodically and often contain randomized loot based on your current progress. Prioritize checking supply boxes when low on resources.
Chest
Secure storage containers requiring keys or puzzle solutions to access. Chests typically hold rare items, weapon upgrades, or story-relevant documents. Unlike supply boxes, chest contents remain static and valuable.
Typewriter
Manual save stations found in safe rooms throughout the facility. Typewriters also provide access to item storage boxes for inventory management. These locations offer brief respites from hostile encounters.
Locked Door
Barriers requiring specific keys, keycards, or puzzle solutions to bypass. Locked doors often separate major facility sections and require backtracking once you acquire the proper access method. Note the lock type for efficient route planning.
Easy Lock
Simple mechanical locks that can be picked or bypassed with basic tools. These provide shortcuts or access to minor supply caches without requiring specific key items. Usually found on maintenance areas.
Warped Closet
Damaged storage areas containing scattered supplies or hidden compartments. Environmental hazards may affect accessibility, requiring careful timing or specific tools to safely retrieve contents. Often hold medical supplies.
Laser Microscope
Scientific equipment used for analyzing samples or unlocking research data. These devices advance the story through document reveals and may require specific specimens to operate. Essential for understanding the outbreak narrative.
Warped Door
Structurally damaged doorways that may require alternate entry methods or environmental changes to pass through. Fire damage or structural collapse creates these obstacles, often blocking optimal routes until conditions change.
Power Distributor
Electrical control panels that restore power to facility sections. Operating these devices activates elevators, lighting, and security systems. Some distributors require fuses or circuit repairs before activation.
Easter Egg
Hidden references, collectible items, or bonus content scattered throughout the facility. While not essential for completion, easter eggs often unlock concept art, bonus modes, or achievement progress. Worth collecting for completionist runs.
Hiding Spot
Concealed areas providing temporary safety during enemy encounters. Lockers, maintenance shafts, and hidden alcoves allow you to avoid or ambush hostile creatures. Essential knowledge for stealth approaches.
Generator
Primary power sources for facility sections requiring fuel or manual activation. Generators enable critical systems like elevators and security doors. Monitor fuel levels and carry spare canisters when possible.
Power Distributer
Secondary electrical systems managing power flow to specific facility zones. These smaller units control localized systems like individual room lighting or equipment power. Often require simple switch activation.
Spotlight
Illumination devices highlighting important areas or revealing hidden paths. Some spotlights require manual activation or repositioning to uncover secrets. Light sources also provide psychological comfort in dark environments.
How to Use the Map Efficiently
Strategic Location hunting requires understanding facility layout patterns and item respawn mechanics to maximize resource gathering efficiency.
- Check supply boxes near save rooms first for guaranteed safety during inventory management
- Mark locked door requirements to batch key item usage during single exploration runs
- Prioritize power system restoration to activate fast travel elevators early
- Clear hiding spots near boss encounter areas before triggering major fights
- Return to supply boxes after story progression as loot tables often improve
- Use spotlight positioning to reveal wall caches and hidden panel access
Location Locations Table
Reference guide for all Location marker types and their primary functions.
| Type | Primary Function | Resource Value |
|---|---|---|
| Supply Box | Random consumables | Medium respawning |
| Chest | Rare fixed loot | High one-time |
| Typewriter | Save and storage | Critical utility |
| Locked Door | Area progression | Access gating |
| Easy Lock | Minor shortcuts | Low but convenient |
| Warped Closet | Damaged supplies | Medium scattered |
| Laser Microscope | Story analysis | Narrative progression |
| Warped Door | Blocked passage | Route planning |
| Power Distributor | Major systems | High utility |
| Easter Egg | Bonus content | Completionist value |
| Hiding Spot | Stealth safety | Tactical advantage |
| Generator | Primary power | Critical utility |
| Power Distributer | Local systems | Medium utility |
| Spotlight | Area illumination | Discovery aid |
Tips for Location Hunting
- Save before interacting with power systems as electrical failures can damage nearby equipment
- Carry lockpicks when exploring maintenance areas to access easy lock shortcuts
- Check warped areas after environmental changes as new passages may open
- Use flashlight sparingly near generators to preserve battery for critical moments
- Mark microscope locations when carrying unanalyzed samples to avoid backtracking
- Test hiding spots before enemy encounters to ensure they provide adequate concealment
FAQs
Do supply boxes respawn their contents?
Yes, supply boxes refresh their contents periodically, especially after major story events or when returning to previously cleared areas with improved loot tables.
Can I access all locations on my first playthrough?
Some locations require specific story progression or multiple playthroughs to unlock, particularly areas gated behind plot-specific key items or ending-dependent facility changes.
What happens if I miss a key location?
Most locations remain accessible throughout the game, though some areas become unreachable after specific story events, making the interactive map essential for completion planning.
Are hiding spots reusable during encounters?
Hiding spots can be reused, but enemy AI adapts to repeated hiding patterns, making it less effective to use the same spot multiple times in sequence.
Credit: Resident Evil Requiem by Wand