![]()
Baldur’s Gate 3 Interactive Map
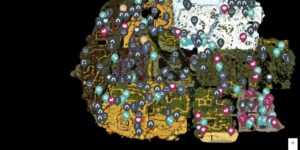
The Baldur’s Gate 3 Map brings every major region of the game together into a single, unified view. As a full Baldur’s Gate 3 Interactive Map, it covers the Wilderness, Shadow-Cursed Lands, Baldur’s Gate, and the Nautiloid as one connected journey. Each map plays a different role in progression, but choices, quests, companions, and loot flow across all of them, so treating this as one world gives you a much clearer sense of how everything fits.
The Wilderness sets up exploration, companions, and early power growth. Shadow-Cursed Lands introduce heavier narrative pressure, tougher combat, and deeper consequences. Baldur’s Gate itself explodes into dense urban storytelling, secrets, and branching outcomes. The Nautiloid acts as the opening foundation, teaching systems that echo throughout the rest of the game. Seeing all four together makes planning builds, quests, and completion far more manageable.
How to Use the Baldur’s Gate 3 Maps
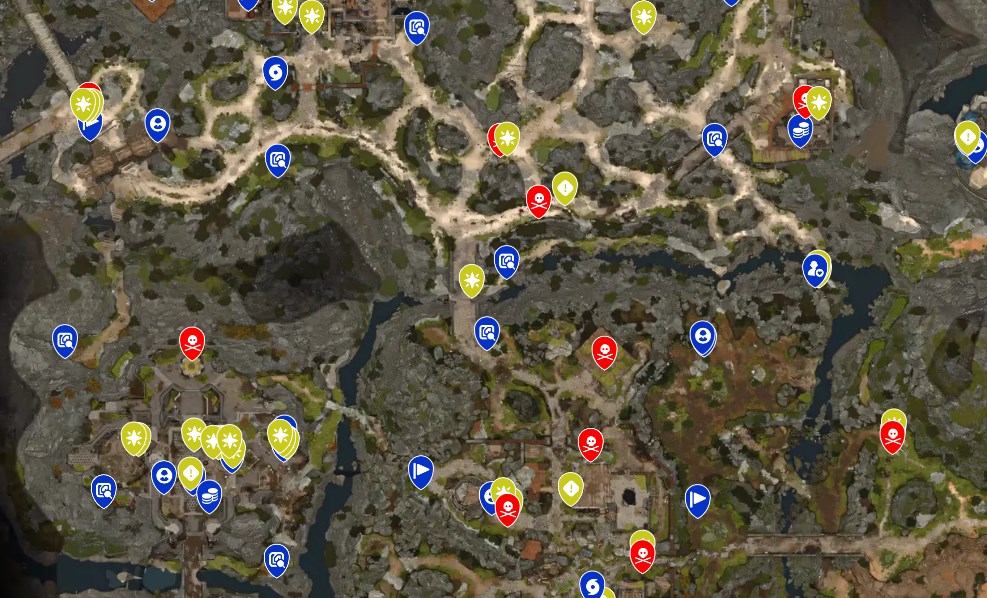
- Enemies include Bosses and Combat Encounters across all regions
- Locations include NPCs, Traders, Companions, Waypoints, Points of Interest, Secrets, and Restorations
- Lootables include Books, Containers, Chests, Crafting Ingredients, Keys, Consumables, Tools, Soul Coins, Illithid Tadpoles, and all Unique Weapons, Armor, Accessories, and Items
- Quests include Main Quests, Side Quests, Personal and Companion Quests, Other Quests, and Inspirational Events
- Others include Passages, Traps, and region-specific Miscellaneous interactions
What the Map Can Do
Understanding Act Structure and World Flow
Looking at all four regions together makes Baldur’s Gate 3’s structure click. The Nautiloid introduces combat encounters, basic loot, and early narrative stakes. It’s small, but its design mirrors later dungeon layouts and teaches you to search thoroughly.
The Wilderness opens everything up. NPC density, side quests, companions, and secrets dominate this area. Passages and hidden paths appear everywhere, encouraging vertical and lateral exploration. Early Inspirational Events stack quickly here, shaping roleplay direction and long-term character identity.
Shadow-Cursed Lands tighten the design. Fewer safe areas, heavier combat pressure, and more dangerous secrets define this region. Bosses and Unique Items appear more frequently, and quest choices carry visible consequences. Seeing how this area sits between the Wilderness and Baldur’s Gate helps explain its role as a narrative and mechanical turning point.
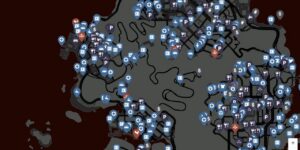
Baldur’s Gate itself shifts into extreme density. NPC counts spike, traders multiply, and quests overlap constantly. Secrets, passages, and traps appear at an unmatched scale, rewarding careful exploration and social decision-making over raw combat.
Loot, Builds, and Power Progression
Loot placement across all maps tells a clear progression story. Early areas lean on Crafting Ingredients, basic Unique Items, and introductory gear. As you move forward, Unique Weapons, Armor, and Accessories appear in greater numbers and tighter clusters.
Illithid Tadpoles spread across every major region, reinforcing their importance to build customization. Soul Coins remain rare but meaningful, while Keys and Passages quietly control access to optional content and shortcuts.
Books, Containers, and Chests dominate exploration. The Wilderness rewards curiosity. Shadow-Cursed Lands reward risk. Baldur’s Gate rewards patience and attention to detail. Seeing all loot categories together helps you plan builds instead of reacting to whatever drops next.

Quests, Companions, and Late Game Cleanup
Quest density ramps up steadily. Companion and Personal Quests often begin in the Wilderness, evolve in the Shadow-Cursed Lands, and resolve in Baldur’s Gate. Side Quests and Inspirational Events appear everywhere, often intersecting in ways that aren’t obvious without a full overview.
Companions show up across multiple regions, and their stories frequently overlap with main plot beats. Traders cluster heavily in Baldur’s Gate, turning the city into a resupply and optimization hub before final outcomes.
Late game cleanup becomes realistic when everything is visible. Instead of guessing which act still has missed Inspirational Events or hidden Unique Items, you can focus region by region. Maybe you’re missing Secrets in the Wilderness, a few Traps in the Shadow-Cursed Lands, or some Passages inside Baldur’s Gate. With all four maps treated as one world, completion feels intentional instead of exhausting.
Map Table
Here’s a quick snapshot of how content spreads across the full game.
| Category | Example | Region |
|---|---|---|
| Companion | Recruitable Ally | All Regions |
| Illithid Tadpole | Build Upgrade | All Regions |
| Secret | Hidden Area | Wilderness / Baldur’s Gate |
| Boss | Major Encounter | All Regions |
| Inspirational Event | Roleplay Milestone | All Regions |
FAQs
Does this include every Baldur’s Gate 3 map
Yes. The map combines the Nautiloid, Wilderness, Shadow-Cursed Lands, and Baldur’s Gate into one complete view.
Are all companions and companion quests included
Yes. The map shows every companion location and all related quest paths across regions.
Does the map cover all unique gear
Yes. All Unique Weapons, Armor, Accessories, and special items appear across the full game.
How does this help with late game cleanup
You can focus on missed Secrets, Inspirational Events, loot, or quests by region instead of guessing.
Is this the full Baldur’s Gate 3 Interactive Map
Yes. Every major system, region, and progression path appears in this all in one guide.
Credit: Baldur’s Gate 3 Maps by Wand