![]()
All Locations: Dying Light Guide
Locations in Dying Light form the backbone of your survival experience, marking essential facilities and resources throughout Harran’s zombie-infested streets. These markers guide you to safe havens, trading posts, supply caches, and specialized resources that keep you alive during both day and night cycles.
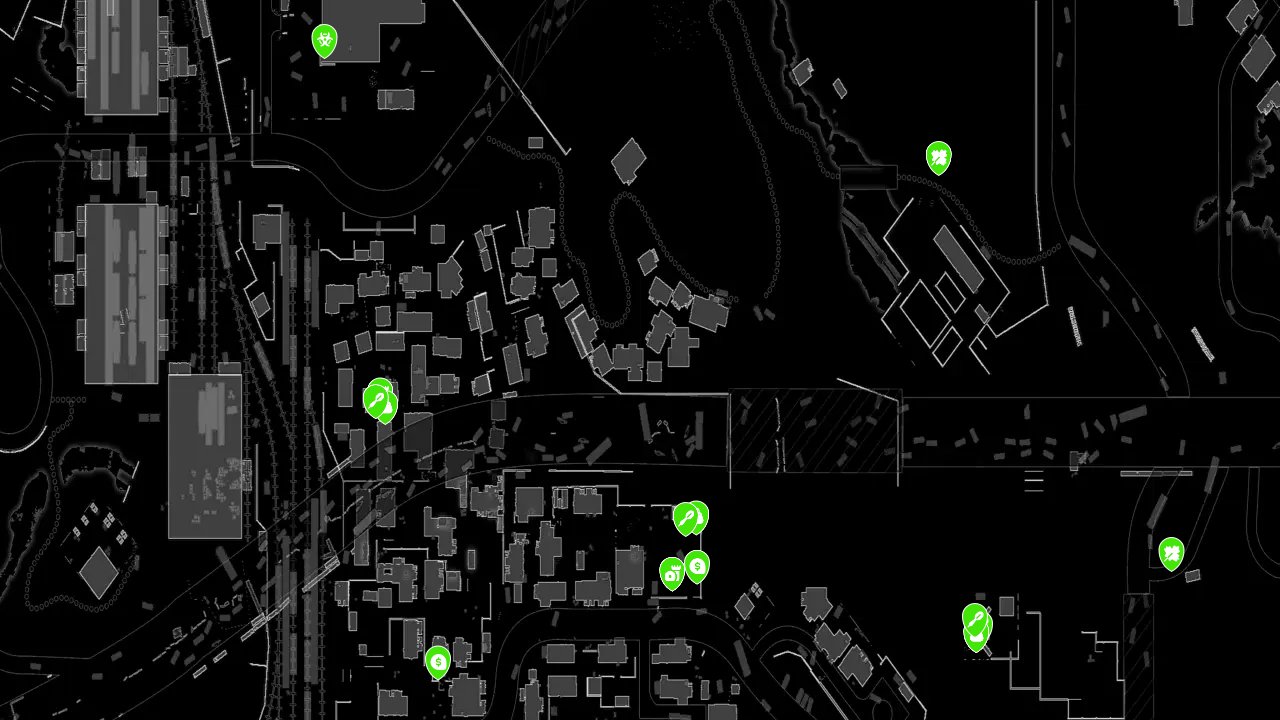
The Dying Light Interactive Map displays all location types in one comprehensive view, letting you plan efficient routes between safe zones, resource gathering spots, and quest-critical areas. This filtering saves precious daylight hours and helps you avoid dangerous nighttime excursions by clustering your objectives geographically.
What Locations Are Used For
Locations provide the infrastructure for survival, progression, and resource management in Dying Light’s harsh world. They represent safe harbors, supply sources, and specialized facilities that become increasingly vital as you venture into more dangerous areas.
- Establishing safe routes between objectives without risking volatile encounters
- Stocking up on weapons, crafting materials, and medical supplies
- Finding secure rest points during extended exploration missions
- Accessing specialized resources like herbs and fungi for advanced crafting
- Managing inventory through strategically placed stash points
Locations Types
The map categorizes locations into ten distinct types, each serving specific survival needs and progression goals. Understanding these categories helps you prioritize visits based on your current objectives and inventory status.
Quartermaster
Military supply officers who exchange your hard-earned DROPs for powerful weapons and equipment. These locations become crucial for acquiring high-tier gear that regular traders cannot provide. Each quartermaster maintains a rotating stock of military-grade items.
Safe Zone
Fortified areas cleared of infected where you can rest, craft, and plan your next moves without threat. These zones feature beds for advancing time, workbenches for weapon maintenance, and often contain other survivors offering quests. Safe zones serve as your primary staging areas for dangerous missions.
Player’s Stash
Personal storage containers scattered throughout Harran where you can deposit excess items and retrieve them from any other stash location. These become essential for inventory management during long expeditions. Stash points let you specialize your loadout for specific mission types.
Bounty Board
Community challenge boards offering daily and weekly objectives for substantial rewards. Completing bounties provides experience points, rare crafting materials, and exclusive weapon blueprints. These locations refresh regularly with new challenges.
Trading
Merchants selling weapons, crafting components, and survival supplies in exchange for cash or valuable items. Each trader specializes in different categories, from basic supplies to rare ammunition. Building relationships with traders unlocks better deals and exclusive inventory.
Herbs
Wild medicinal plants growing in specific outdoor locations throughout the city. These herbs craft powerful healing items and stat-boosting consumables that surpass basic medical supplies. Herb locations respawn regularly, making them renewable resource points.
Flourescent Shrooms
Glowing fungi found in dark, damp areas that serve as key ingredients for advanced crafting recipes. These mushrooms create potent throwable items and weapon enhancements. Their distinctive glow makes them easier to spot in low-light environments.
Quarantine Zone
Heavily infected areas sealed off by the military, containing valuable supply caches and rare crafting materials. These high-risk zones reward brave survivors with exceptional loot but require careful preparation and combat skills. Each quarantine zone presents unique challenges and layouts.
Underwater Algae
Aquatic plants found in flooded areas and sewers that craft specialized items and provide unique crafting components. These locations often require swimming through dangerous areas but offer resources unavailable elsewhere. Algae harvesting adds a diving element to resource gathering.
Toxic Lichen
Poisonous growths found in contaminated areas that create powerful throwing weapons and environmental hazards. Despite their toxic nature, these plants craft some of the most effective crowd-control items in your arsenal. Harvesting requires protective gear or risk management.
How to Use the Map Efficiently
Planning routes between locations minimizes exposure time and maximizes resource gathering efficiency during each expedition from your safe zone base.
- Group nearby locations by district to complete multiple objectives in single outings
- Prioritize safe zones when planning routes through unfamiliar or high-danger areas
- Mark stash locations along major travel routes for emergency resupply points
- Schedule resource gathering runs during daylight hours when visibility and mobility are optimal
- Identify trader locations near crafting material sources for immediate equipment upgrades
- Plan quarantine zone approaches from nearby safe zones with escape routes mapped
Locations Locations Table
Each location type serves distinct survival functions and offers specific rewards for your efforts.
| Type | What You Get | Notable Detail |
|---|---|---|
| Quartermaster | Military weapons and gear | Requires DROPs currency |
| Safe Zone | Rest, crafting, safety | Contains beds and workbenches |
| Player’s Stash | Item storage access | Shared inventory across all stashes |
| Bounty Board | Challenge rewards | Refreshes with new objectives |
| Trading | Weapons and supplies | Different specializations per trader |
| Herbs | Medicinal crafting materials | Respawning resource nodes |
| Flourescent Shrooms | Advanced crafting components | Glows in dark environments |
| Quarantine Zone | Rare loot and materials | High-risk, high-reward areas |
| Underwater Algae | Aquatic crafting resources | Requires swimming to harvest |
| Toxic Lichen | Poisonous weapon materials | Found in contaminated zones |
Tips for Locations Hunting
- Activate safe zone fast-travel points before exploring surrounding areas for quick extraction
- Carry lockpicks and repair tools when visiting trader and quartermaster locations
- Harvest herbs and mushrooms during daylight when their exact positions are easier to identify
- Approach quarantine zones with full health, adequate weapons, and escape plans ready
- Visit stash locations when your inventory fills up to avoid leaving valuable items behind
- Check bounty boards regularly as completed challenges make room for new rewarding objectives
FAQs
Do resource locations like herbs and mushrooms respawn in Dying Light?
Yes, herbs, flourescent shrooms, and other natural resources respawn after a certain period, making them reliable renewable sources for crafting materials.
Can I access my stash items from any Player’s Stash location?
Yes, all Player’s Stash locations share the same inventory pool, allowing you to deposit items at one location and retrieve them from any other stash point across the map.
What makes quarantine zones different from regular infected areas?
Quarantine zones contain higher concentrations of dangerous infected, environmental hazards, and locked supply caches with rare loot that cannot be found in standard areas.
Do traders have different inventory based on their location?
Yes, different traders specialize in specific item categories and maintain varying inventory quality based on their location and the surrounding area’s danger level.
Credit: Dying Light by Wand